Account & sign-in

This page covers how you get into OrientME and how to manage your account once you’re in. For creating an account and the first-run tour, see Getting started.
Ways to sign in
You can sign in with:
- Email (or username) and password, or
- Continue with Google / Continue with Apple, when those options are enabled.
If your account was created with a provider only, use that provider’s button — there won’t be a password on the account.
New accounts may need approval before sign-in is enabled. You’ll see “pending admin approval — you’ll receive an email when it’s ready.” This applies to both email and provider sign-ups.
If you see “Please confirm your email address before signing in”, your account still needs its email verified — click Resend the confirmation email under the message (on mobile, tap Resend email in the alert) and follow the link in the newest email.
Were you invited?
If someone set up OrientME for you, you’ll get a personal invitation email with a Set your password button. Your account already has access — just:
- Open the email and click Set your password (the link is valid for 7 days).
- Choose a password (see Password requirements below) and confirm it.
- You’ll land on the sign-in page — sign in with your email and new password.
The email also links to this documentation and invites your feedback — replies go straight to the person who invited you.
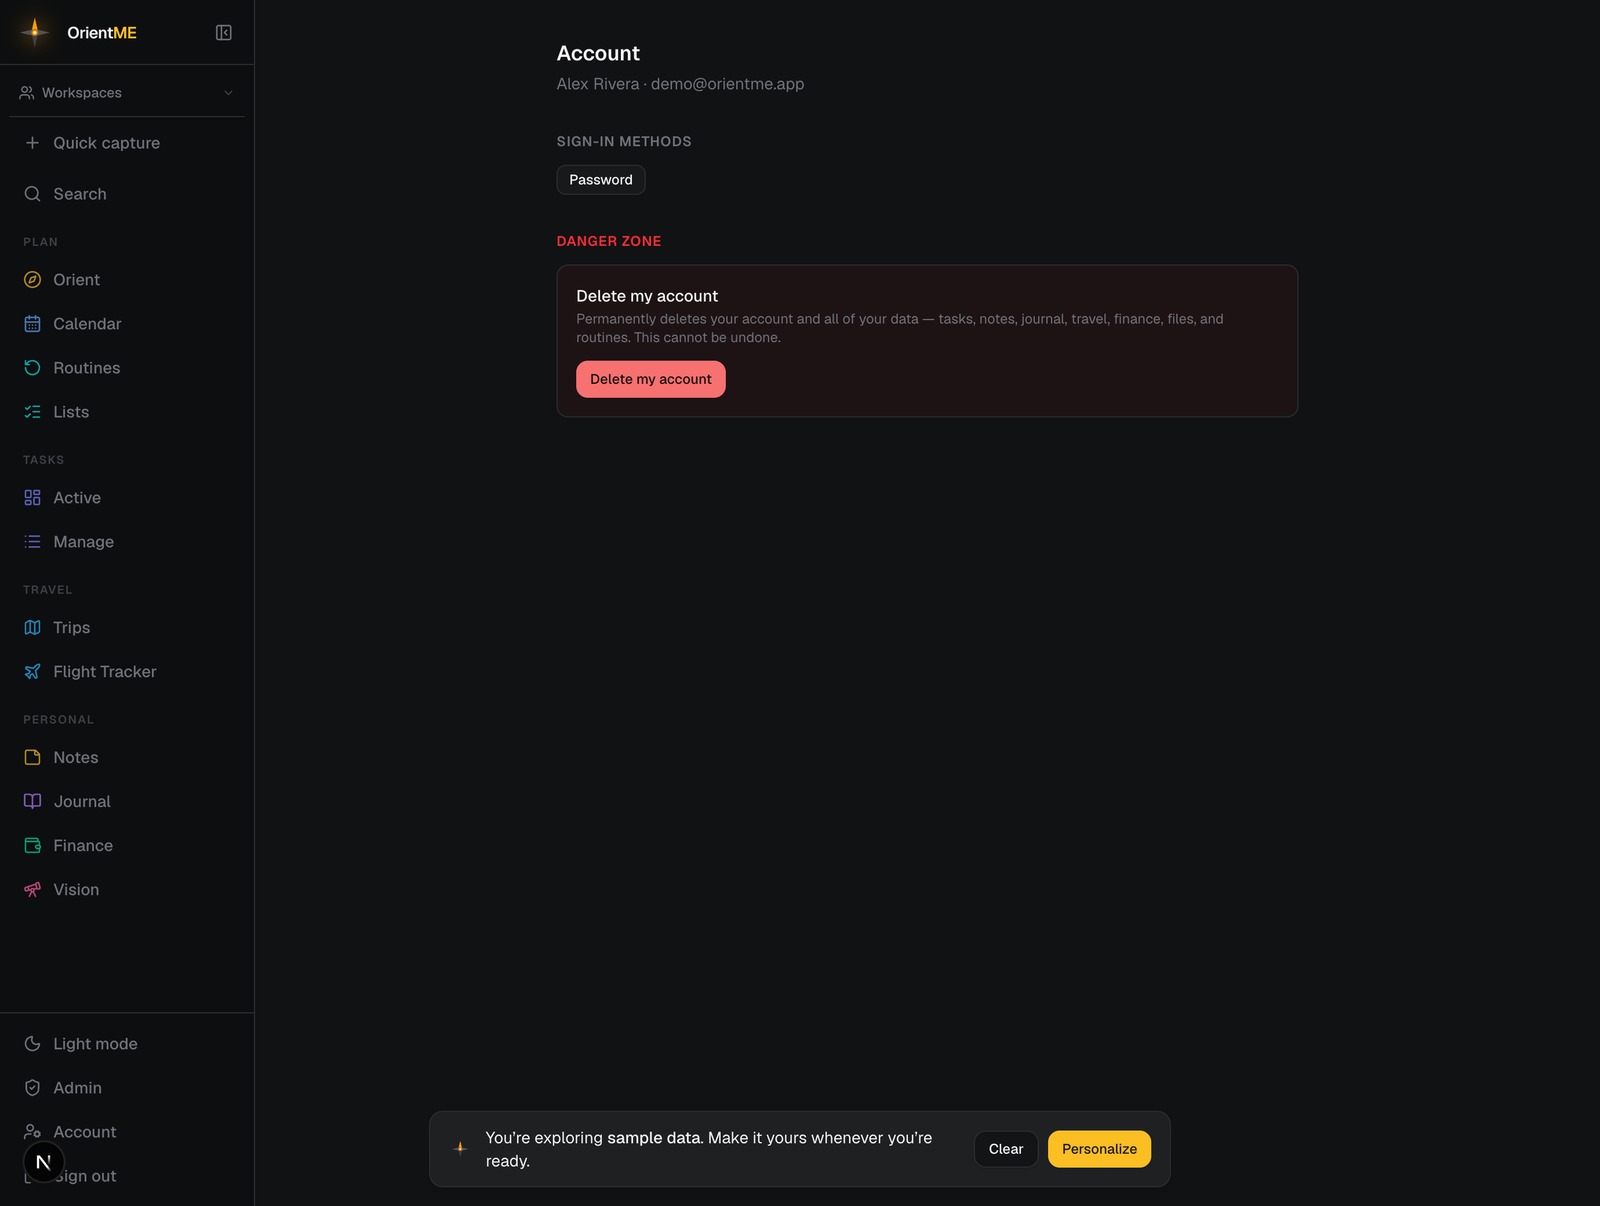
The account page
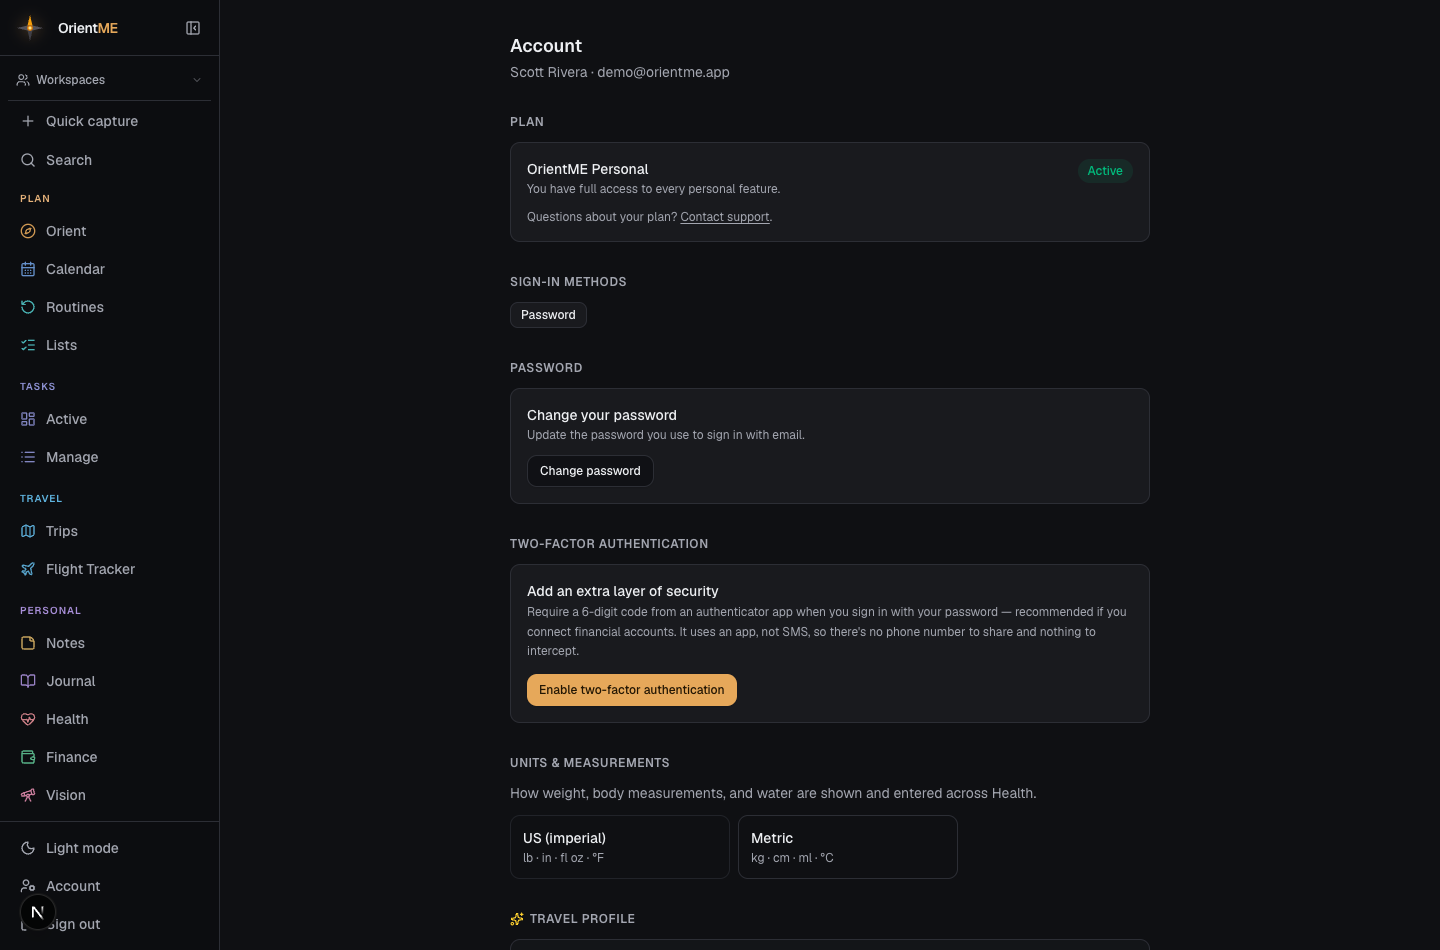
Open Account from the sidebar footer (or, on mobile, from the Personal tab → Account & sign-in). It shows:
- Plan — your current plan at a glance: free trial (with days left), active, or expired. See Your plan below.
- Sign-in methods — chips for each method connected to your account (Password, Google, Apple).
- Password — change it, or set one if you only ever used Google or Apple. See Change or set your password.
- Two-factor authentication — add an authenticator-app code to sign-in. See Two-factor authentication.
- Units & measurements — choose US (imperial) or Metric for how Health shows and takes weight, body measurements, and water. See Units & measurements.
- Travel profile (web) — your default travel style (pace, interests, dining, budget, and more). It pre-fills Plan with AI on every new trip, so you only adjust what's different. It saves as you go, and you can tweak it per trip.
- Calendar subscription — publish a private, read-only feed of your whole calendar that Google, Apple, or Outlook can subscribe to. See Calendar subscription.
- Imported calendars (web) — subscribe to outside calendars and see them as a read-only colored layer on your Calendar. See Imported calendars.
- Flight email import — the forward-to address for flight confirmations, plus which extra email addresses may forward them into your trips. See Flight email import.
- Getting started (web) — re-open the welcome tour for a refresher or to load sample data.
- A danger zone for deleting your account.
Your plan
The Plan card at the top of the Account page (and the Account screen on mobile) shows where your account stands:
- Free trial — 14 days of full access to every personal feature, with a days-left badge and the exact end date.
- Your plan (Lite or Pro) — the card shows your plan's name and when it renews. If you've chosen to cancel, it shows the date your plan ends instead — you keep full access until then.
- Payment issue — a recent charge didn't go through. Your access continues while the payment is retried; click Fix payment to update your card.
- Trial ended — personal features are paused. Everything you created is safe, and anything shared with you through a workspace stays available.
During the last two days of a trial, a small reminder appears at the bottom of the screen on the web — click View plan to jump to this card, or dismiss it for the day.
Subscribing
On the Plan card (or from the See plans prompt that appears when a trial ends), pick Lite or Pro — each card lists its monthly price and what's included (how many financial institutions you can link, and how much file storage you get). Clicking Subscribe takes you to a secure Stripe checkout page; when you finish, you land back in OrientME with your plan active immediately.
On mobile, tap Subscribe (or See plans) and choose a plan — checkout opens in your phone's browser and completes there. When you return to the app, your plan is active.
Managing your subscription
Once subscribed, the Plan card gains a Manage billing button. It opens a secure billing portal where you can:
- Switch plans (Lite ↔ Pro) — the price difference is prorated automatically.
- Cancel — your plan runs until the end of the period you've paid for, then ends. Nothing is deleted; you can re-subscribe anytime.
- Update your card and view past invoices.
What the limits mean. The Plan card shows your usage — how many financial institutions you've linked and how much file storage you've used. When you reach a limit, nothing you've already added is ever touched: linking one more institution or uploading one more file simply asks you to upgrade (or free up space) first. AI features have a monthly allowance that resets at the start of each month.
Have a question about your plan at any time? Use Contact support on the Plan card.
Change or set your password
On the Account page (web) or the Account screen (mobile), open the Password section:
- Change your password — enter your current password, then your new one twice.
- Set a password — if you only ever signed in with Google or Apple, you can add a password here (no current password needed). Afterwards Password appears as one of your sign-in methods, so you can sign in with email too.
Two-factor authentication
Add a second step to sign-in so your password alone isn’t enough to get into your account. It’s optional but recommended, especially if you connect financial accounts. OrientME uses an authenticator app — not text-message (SMS) codes — so there’s no phone number to share, and the codes work even with no signal.
Turn it on — on the Account page (web) or Account screen (mobile), open Two-factor authentication and tap Enable. The setup walks you through three steps:
- Get an authenticator app if you don’t already use one. We recommend Microsoft Authenticator (free, and it backs your codes up so a new phone restores them); Google Authenticator and 1Password work too. The setup screen links you straight to each one in the App Store / Google Play. Already use one? Skip ahead.
- Scan the QR code with the app, or type in the key it shows.
- Enter the 6-digit code from the app to confirm.
Then save your recovery codes — 10 one-time codes for getting in if you ever lose your phone. Copy or download them and keep them somewhere safe; you won’t see them again. (Because OrientME doesn’t use SMS, these codes are your backup if you don’t have your authenticator.)
Signing in with it on — after your email and password, you’ll be asked for the current 6-digit code from your app. Lost your device? Choose Use a recovery code instead and enter one of your saved codes (each works once).
Manage it — back in the same section you can Regenerate recovery codes or Disable two-factor (you’ll re-enter your password to confirm).
If you sign in with Google or Apple, those accounts already carry their own two-step verification, so you won’t be asked for a separate code here. Two-factor in OrientME applies to password sign-in.
If you connect a bank or brokerage without two-factor turned on, OrientME suggests enabling it first. You can set it up then, or continue and turn it on later.
Password requirements
- At least 12 characters.
- No special characters required — a long, memorable passphrase works great.
- For your safety, very common passwords and passwords known from public data breaches are not allowed. If yours is rejected, pick something more unique.
- You can paste from a password manager.
Forgot your password?
- On the sign-in page, click Forgot password?
- Enter your email and click Send reset link.
- Check your inbox for the reset email and click the link (it’s valid for 1 hour).
- Choose a new password and sign in.
For your privacy, the confirmation looks the same whether or not an account exists for that email, so no one can use it to discover who has an account.
Units & measurements
Pick how Health shows and accepts numbers. In the Units & measurements section, choose:
- US (imperial) — pounds, inches, fluid ounces, °F.
- Metric — kilograms, centimeters, milliliters, °C.
The change saves the moment you tap a choice and applies everywhere in Health — weight and body measurements, water/hydration, and the figures on each card. It's a per-account setting, so it follows you across web and mobile. (New US accounts start on US (imperial).)
Calendar subscription
Publish a private, read-only feed of your whole calendar — tasks, routines, plans, trips, events, journal, and health — and subscribe to it from Google, Apple, or Outlook so OrientME shows up alongside your other calendars. You can set this up here or from the Subscribe button on the Calendar.
- In the Calendar subscription section, click Enable calendar feed.
- You'll get a Subscription link. Click Copy, or use Add to Google Calendar / Add to Apple Calendar to jump straight into that app's "subscribe by URL" flow.
- Your calendar apps re-check the feed on their own (most every few hours), so updates flow in automatically.
Times are shown in your current device's timezone, noted under the link.
The link is a secret — anyone who has it can see your whole calendar. Only share it where you mean to. If a link leaks, click Generate new link to invalidate the old one (everyone subscribed will need the new link), or Turn off feed to stop it entirely.
Imported calendars
Going the other way, you can subscribe to a calendar from somewhere else — Google, Apple, Outlook, a sports schedule, anything that gives you an .ics or webcal link — and see its events on your Calendar as a read-only colored layer. This is set up on the web (the events then show on web and mobile).
- In the Imported calendars section, click Add a calendar.
- Give it a name, paste the .ics or webcal link, and pick a color.
- Click Add calendar. Its events appear on your Calendar in that color and refresh on their own.
You can recolor or Remove an imported calendar any time. There's a small limit on how many you can add at once.
Imported calendars are read-only — you can't edit those events in OrientME, only view them. To change one, edit it in the calendar it came from.
Flight email import
You can email a flight confirmation straight into OrientME — forward it to [email protected] and the flight files itself onto the right trip (see Forward a flight confirmation). Forwards from the email address on your account work automatically. The Flight email import section shows the forward-to address (with a copy button) and is where you allow other sender addresses too — a work email, or a partner or assistant who books your travel.
- In the Flight email import section, add the email address.
- A verification email goes to that address — open its inbox and click the verification link. You'll land back on your Account page with a confirmation.
- Once the address shows as verified, confirmations forwarded from it are imported into your account.
You can remove an address at any time — its forwards stop being accepted right away.
Verification is a security measure: an address only becomes a sender once someone with access to its inbox confirms it, and unverified addresses are never accepted. Mail that fails the usual email authenticity checks is quietly set aside too — nothing gets into your account just by claiming to be you.
Replay the welcome tour
Want a refresher? On the web Account page, the Getting started section has Show the welcome tour — it re-opens the first-run welcome flow so you can personalize your space again or load sample data to explore. Sample content is clearly marked and easy to clear afterward.
Sign out
Use Sign out in the sidebar footer (web) or on the Account screen (mobile). This ends your session and returns you to the sign-in page.
Delete your account
Deleting is permanent and removes everything — tasks, notes, journal, travel, finance, files, and routines.
- On the Account page, click Delete my account.
- If your account has a password, enter it to confirm.
- Type DELETE in the confirmation field.
- Click Permanently delete.
You’ll be signed out and your data removed.