Lists

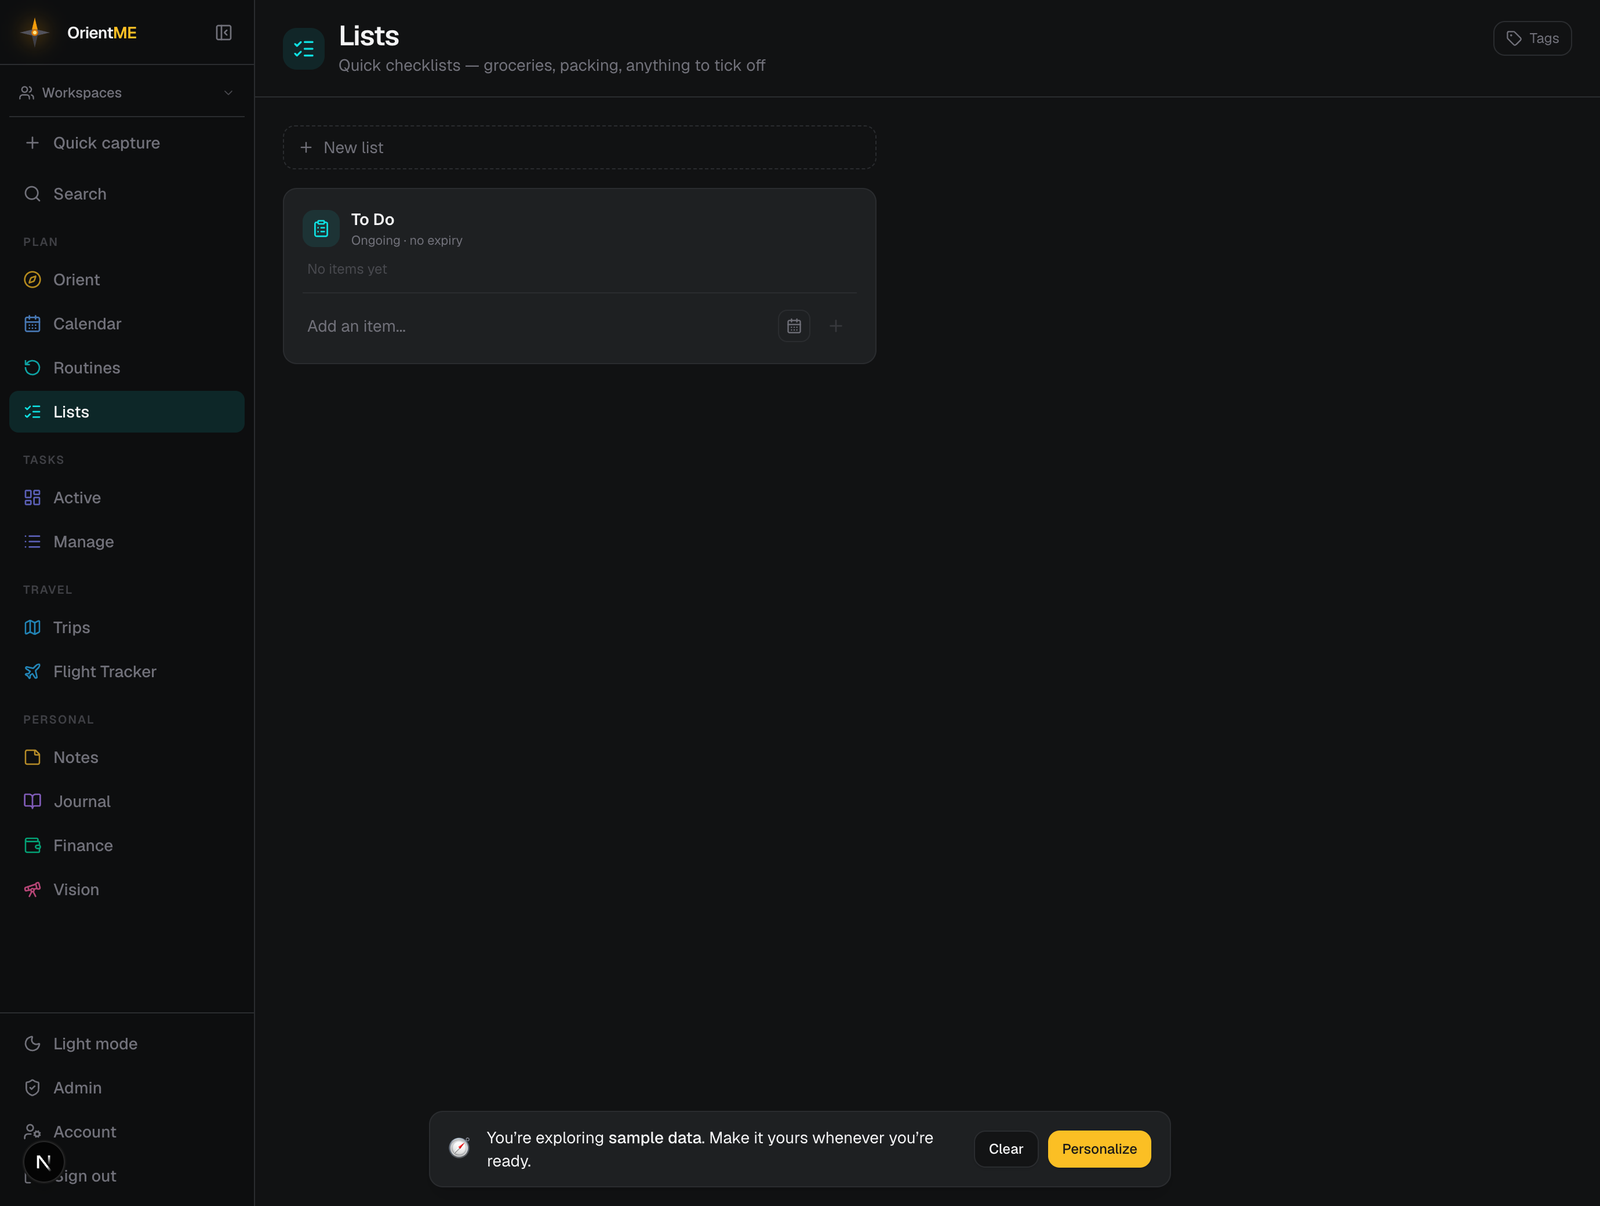
Lists are untimed checklists — groceries, packing, a someday/maybe list, anything you just want to tick off. Where plans are tied to a week, month, or year, lists have no expiry. You’ll find them under Plan → Lists (on the mobile app, the Plan tab’s Lists segment).
Every account starts with a pinned To Do list at the top; your own lists sort below it until you arrange them yourself.
Arrange your lists
Lists start out alphabetical below the pinned To Do, but the one you actually reach for every day probably isn't the one that happens to start with an "A".
To reorder: hover a list, grab the grip handle that appears to its left, and drag it where you want it. Everything else shifts to make room, and the arrangement is saved to your account — so it's the same order on your phone.
To use the whole width: the 1 / 2 / 3 control in the page header sets how many columns of lists to show. Two is the default. On a wide screen three fits comfortably; at 1 the page keeps a single narrow column, which is easier to read if your lists have long item names. This one is remembered per device, so a laptop and a big monitor can each keep their own setting.
Lists have very different lengths, and each card keeps its natural height — so a short list leaves a gap beneath it. Dragging your longest lists toward the end of the order tidies that up.
Create a list
Click New list, give it a name (for example “Groceries”), and click Create. Starter chips — Groceries, Packing, Errands, Wishlist — fill the name with one click (chips for names you already use are hidden). A list can optionally be shared with a workspace when you create it.
Add and check off items
Lists use the same item controls as plans:
- Type into Add an item… and press Enter.
- Optionally set a default tag (auto-applied to new items), tag a single item, or give it a date and time.
- Add a short note to an item — the sticky-note icon on the add row, or edit an item. It shows as a muted line of detail under the title (“get the 2% not whole”). Long notes show two lines and expand when you click them.
- Check an item to complete it; hover to edit or delete.
- Click a tag chip to filter the list to that tag.
Completed items tuck into a collapsible Done (n) section at the bottom of the card, so the list stays focused on what’s left — click Done (n) to show or hide them.
Items with a date show up on your calendar
Give an item a date (and optionally a time) and it appears on the Calendar tagged plan. Clicking it there brings you straight back here, scrolled to that item and highlighted — and if you've already ticked it off, the Done section opens with it. On the phone, tapping the row on the calendar ticks the item off; the › at the right of the row opens its list.
If you subscribe to your calendar from Google, Apple, or Outlook, dated items travel there too, carrying their note and a link back to the list.
Paste several items at once
Paste multiple lines into Add an item… and a preview appears showing each line as its own item — click Add N items to add them all. Bullets, numbering, and checkboxes from the pasted text are stripped automatically, so a list copied from Notes, Messages, or an email lands clean. Any tag or date you’ve set on the add row applies to the whole batch. A note, though, is per item — it isn’t attached to a pasted batch; add one by editing an individual item.
Reuse a list
Every list card has a ⋯ menu with three actions:
- Uncheck all — clears every checkmark so you can run the same list again (no confirmation; it only unchecks).
- Clear completed — permanently deletes the checked-off items, after one confirmation.
- Duplicate list — creates a fresh, unchecked copy named “your list copy”, keeping every item’s tags, dates, and times.
The same menu (minus Duplicate list) appears on plans, so a weekly plan can be reset or tidied the same way.
A list is the fastest home for a brain-dump. To drop something onto a specific list without
opening it, use Quick capture with a list: prefix — for example
list: paper towels.
A shopping list from a meal plan
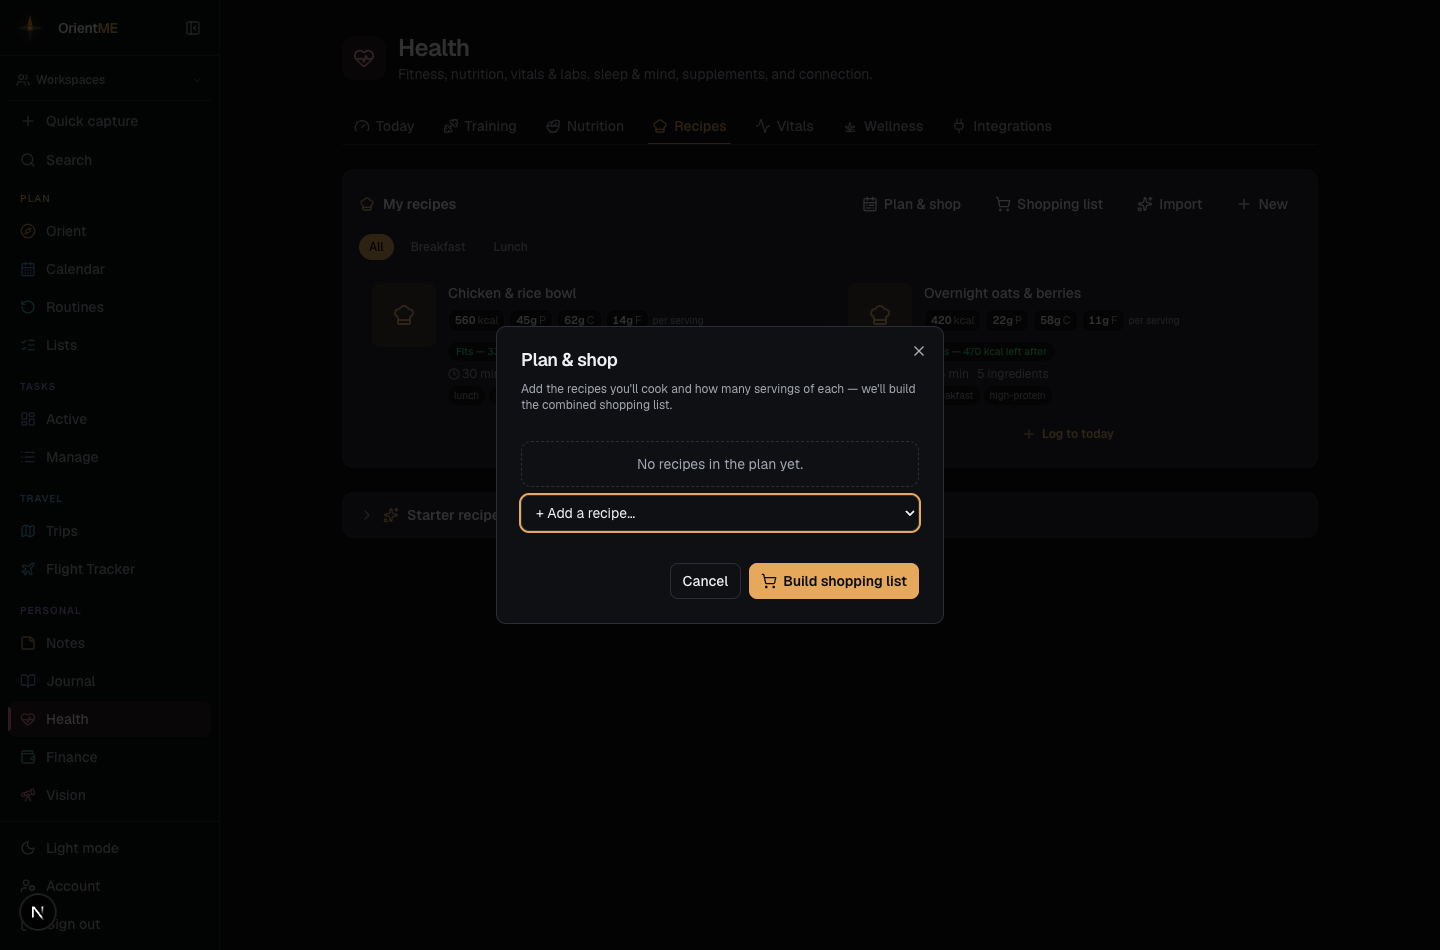
Lists is also where your cooking week turns into groceries. On the Recipes tab in Health, tap Plan & shop, add the recipes you’re going to make and set how many servings of each, then click Build shopping list.
OrientME scales every recipe’s ingredients to the servings you chose (two servings of a four-serving recipe buys half its ingredients), consolidates duplicates across recipes (two recipes that each need garlic become one line), and drops the combined list into Lists — named after the recipes it came from, for example Shopping — Chili, Sheet-pan salmon. From there it’s an ordinary list: tick items off as you shop, add anything the recipes missed, or share it with your household. You can build it from the Recipes tab on the web or in the mobile app.
Sharing
Like plans and routines, a list can be shared with a workspace so everyone sees the same checked items. Tags stay a personal overlay — yours don’t show up for teammates. See Workspaces & sharing.