Events

Events are the dated occasions you’re attending or want to remember — a concert, a ballgame, a dinner reservation, an appointment, a birthday, an anniversary, an annual filing. They’re not tasks to finish and not trips — though they can repeat (a birthday every year). For daily habits you tick off, use routines instead. Events are just things with a date and a place, and they sit right next to everything else on your calendar.
Where to find it
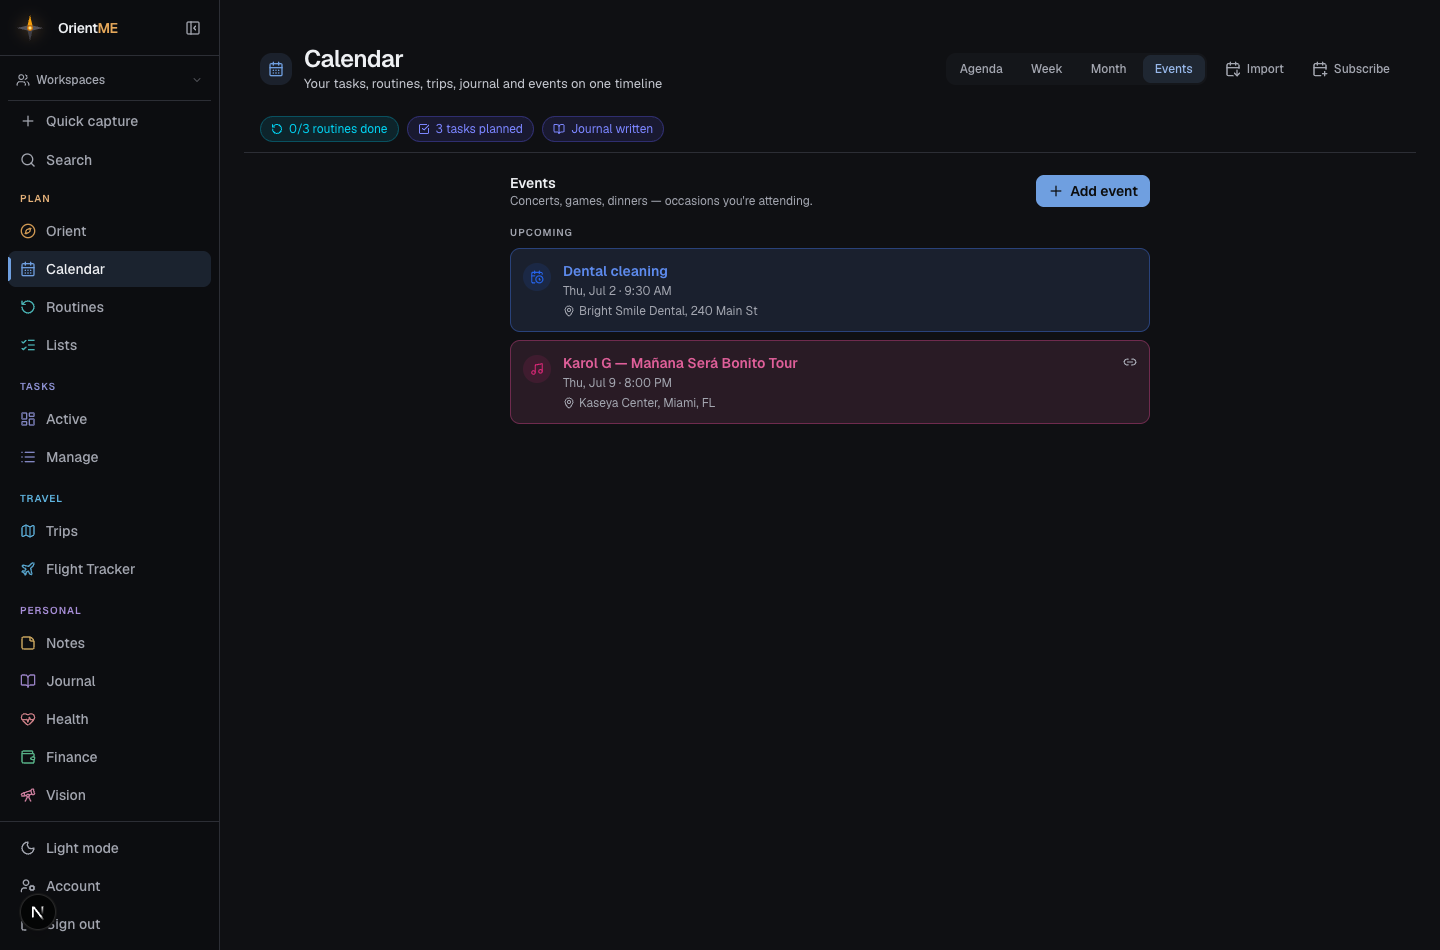
On the web, open the Calendar. The header has view tabs — Agenda · Month · Week · Events. Click Events to see your occasions split into Upcoming and Past, with an Add event button at the top.
On mobile, open the Calendar tab and tap the Events pill in the top-right. Tap Add event to create one.
You can also add an event in context. In Month view, click a day to open its panel, then use the Event button to start a new event already dated to that day.
Add an event
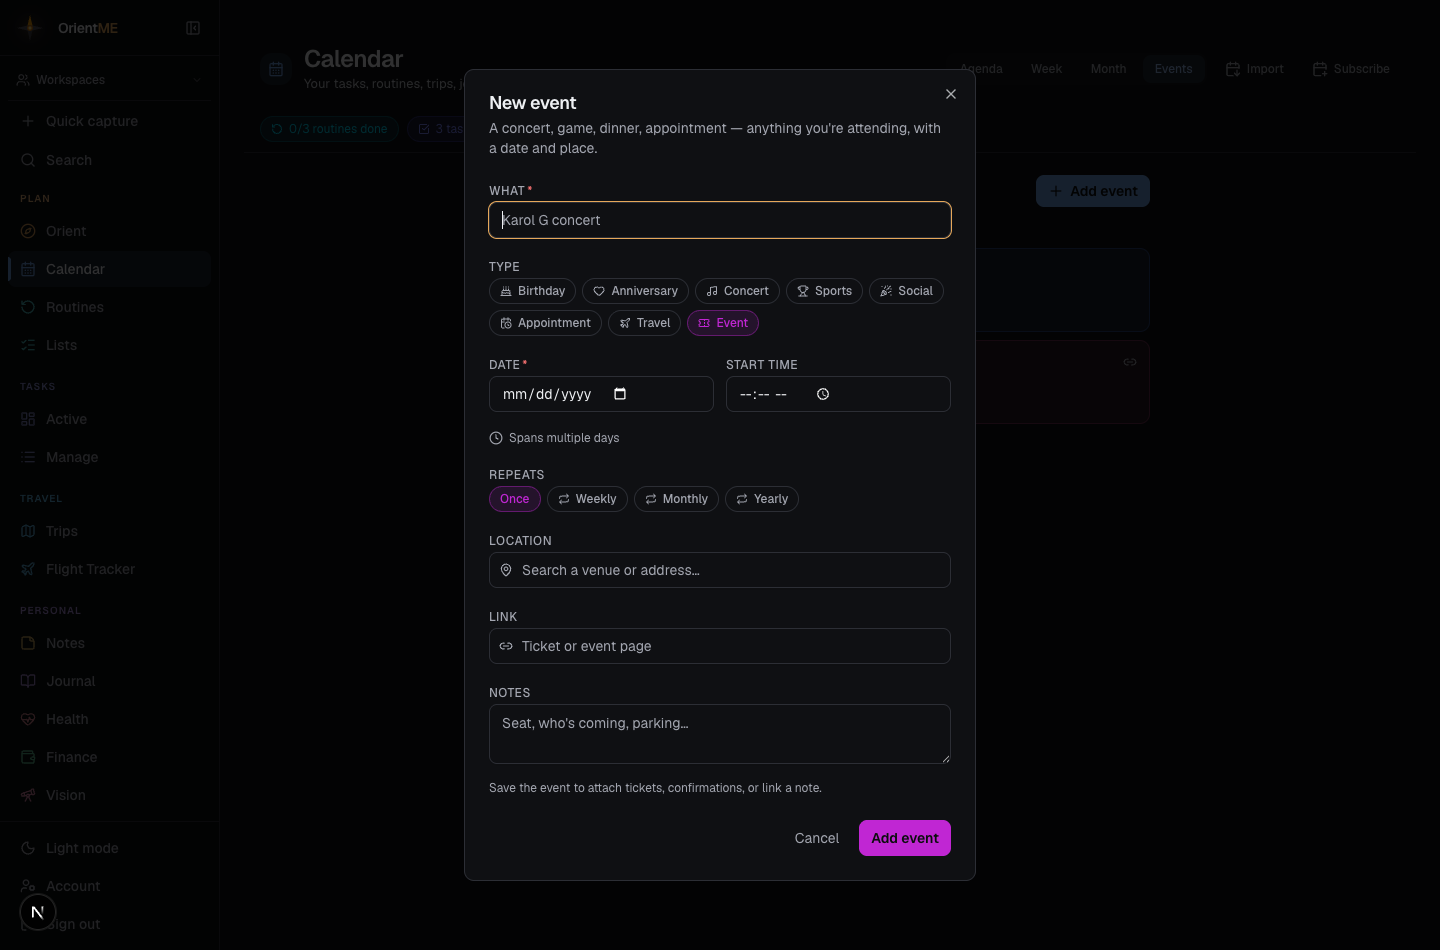
Creating or editing an event opens a simple form:
- What — the name of the occasion (“Karol G concert”, “Dinner with Sam”).
- Type — a category chip: Birthday, Anniversary, Concert, Sports, Social, Appointment, Travel, or Event. The type sets the color the occasion shows in on your calendar.
- Date — the day it happens.
- Start time — optional. Leave it blank for an all-day event.
- End time — optional. As soon as you set a start time, an End time field appears, so a meeting or appointment can show its full range (e.g. 9:00 – 10:00 AM) on your calendar.
- Spans multiple days — for occasions longer than a day (a festival weekend, a multi-day conference), use Spans multiple days to add an End date (with its own end time).
- Repeats — for occasions that come back around (see Make it repeat below).
- Location — start typing a venue or address and pick from the place suggestions (the same search the trip planner uses); it fills in the exact spot. Once the event is saved, its location shows in the Events list — click (or tap on mobile) it to open the place in Google Maps.
- Link — a ticket or event page to jump back to later.
- Notes — anything else: your seat, who’s coming, where you’re parking.
Click Add event (or Save event when editing) to save. An existing event also has a Delete option.
Make it repeat
Some occasions come back every year — a birthday, an anniversary, an annual filing or tax deadline — or every month or week. In the event form, use Repeats to choose how often:
- Once — a one-off (the default).
- Weekly — every week on the same weekday as the date you picked.
- Monthly — every month on the same day of the month.
- Yearly — every year on the same date.
The repeat takes its rhythm straight from the date you chose, so you don’t fill in anything extra — pick Jun 23 and Yearly, and a little summary confirms “Every year on Jun 23.” If a repeat should stop at some point (say a weekly meeting that ends in the summer), set an optional Until date; leave it blank and it simply repeats forever — perfect for birthdays.
The occasion then shows up on every date it lands on, across your calendar’s Agenda, Month, and Week views — so next year’s birthday is already there. In the Events list a repeating occasion carries a small repeat chip and is filed under Upcoming by its next date, so a birthday you first entered years ago still lands on its upcoming day rather than getting stuck in Past. Editing a repeating event updates the whole series.
Pair it with the Birthday or Anniversary type for a color that stands out, and your calendar quietly remembers the dates you’d otherwise forget — every year, automatically.
Attach your tickets
Once you’ve saved an event, open it again and you’ll see a Tickets & files area. Attach your ticket PDF, a booking confirmation, a parking pass — anything you’ll want on hand. On the web they open right in your browser; on mobile they open in the native preview sheet so you can save them to Files or show them at the door.
Attachments appear after the event is saved — create the event first, then reopen it to add files.
Link a note
Once an event is saved, reopen it and you’ll find a Related section. Tap + Link to attach a note — perfect for a meeting agenda, talking points, or minutes you want to keep with the event. The linked note also shows the event back on the note, so you can jump between them. Click a linked note to open it.
It works the other way around too: from a task, note, or any other Related panel, search for the event by name and link it — so a prep task can point straight at the meeting it’s for. Clicking a linked event opens it on the calendar.
Linking is great for work meetings: set the Appointment type, add the start and end time so the meeting blocks out its real slot, drop the video link in Link, and attach your agenda note — everything for the meeting in one place on your calendar.
On your calendar
Events appear across the Agenda, Month, and Week views — and the mobile day and week agenda — colored by their type, right alongside your tasks, routines, plan items, trips, and journal. When an event has a start and end time, the Week view draws it as a block the length of the meeting and shows the full time range, so the Karol G concert (or your 9–10am sync) sits in context with everything else happening that day, not off in a separate list. Overlapping timed events pack side by side, just like your other calendar entries.
Events also show up in Search (Cmd/Ctrl+K) — look one up by its name, venue, or anything in its notes, and the result opens the event right on the calendar.
Capture one in a single line
You can add an event straight from Quick capture. Choose the Event
type, or just start your line with event: — for example:
event: Karol G concert on Jul 15 at 8pm
OrientME reads the date and time out of the sentence for you, so the new event lands on the right day at the right time.
Sharing
Events are private to you. Unlike plans and routines, events don’t have a share-to-workspace control yet — if you use shared workspaces, sharing applies to routines, plans, lists, and trips today.