Journal

The Journal is for reflection — daily check-ins, gratitude, and longer thinking. Where notes are reference material, journal entries are dated and carry an entry type, so over time they become a record of how things actually went. It lives under Personal → Journal.
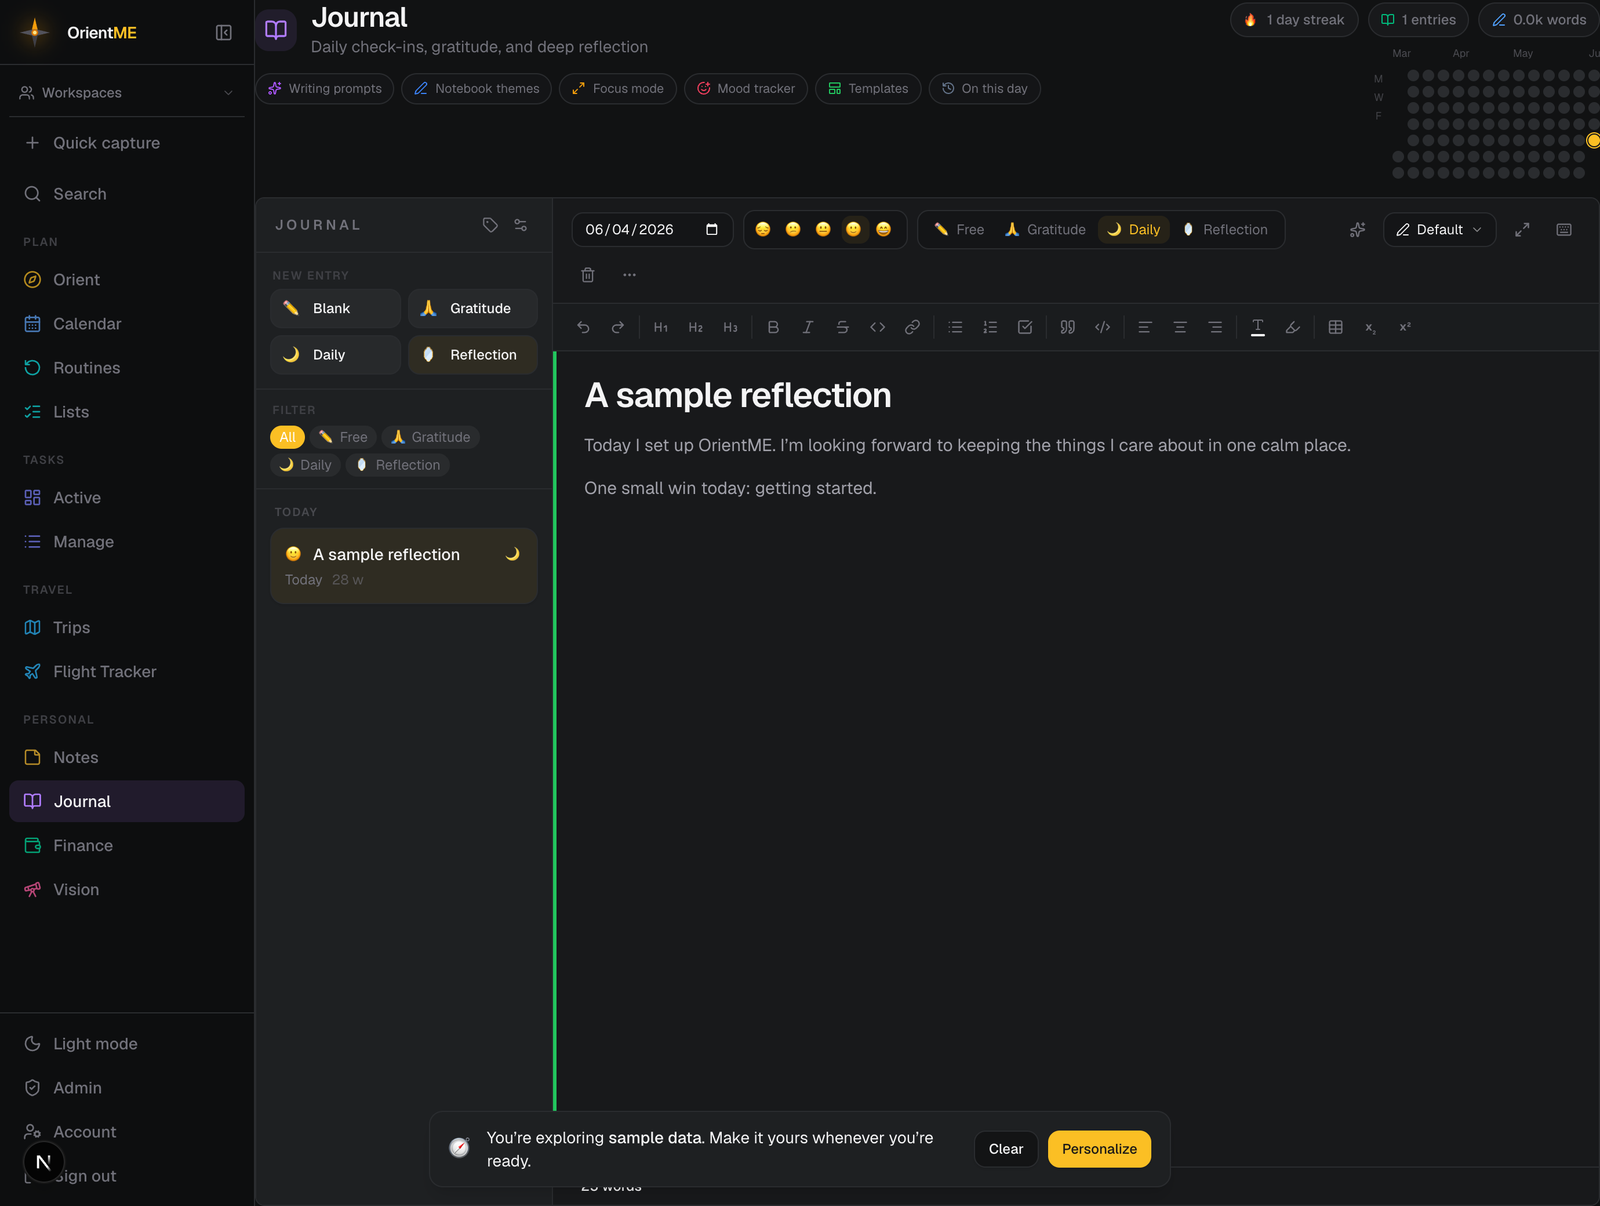
The header shows your total entries and word count, plus a contribution heatmap of the days you’ve written — a quiet record of your writing, with no streak to keep alive.
Start an entry
Pick a starting template — each opens a new dated entry with helpful section headings:
| Template | For |
|---|---|
| Blank | A clean page |
| Gratitude | Noticing the good and who you share it with |
| Daily | A quick morning, midday, or night check-in |
| Reflection | Going deeper on what matters and where you’re headed |
| Weekly review | Looking back at the week and setting up the next one — the title fills in with the week automatically |
Each template opens with a short italic line to set the tone, and every section heading carries a small italic nudge underneath — a concrete prompt for what to write there. They’re ordinary text: write over them, around them, or delete them.
Your own saved templates appear alongside these, each with the icon you chose. A new entry shows up in the list once you start typing.
Make your own template
Open Manage templates (the gear button above the entry list) and choose Add. Give your template:
- a name and an icon — tap the icon button to pick any emoji,
- a Type — Free, Gratitude, Daily, or Reflection (this decides which writing prompts its entries suggest),
- an optional title pattern — type
{date}or{week}and it fills in automatically, and - an optional content structure — start lines with
###to lay down section headings.
Your template then shows up under New entry with its icon, and every entry you start from it carries that same icon. You can edit or delete a template here anytime — deleting one keeps the entries you already wrote; they simply fall back to their base type (the Type you chose).
Already wrote an entry you’d like to reuse? Open the More menu (⋯) in its top bar and choose Save as template to turn its layout into a reusable starting point — give it a name, an icon, and a Type, and it joins your other templates.
The entry page
An entry opens like a journal, not a form. Everything you read sits on one paper-like page: a faintly tinted sheet with a subtle grain and the edge of the “stack” peeking out on the right. At the top of the page, the entry’s date is set in serif over a short violet keyline — like a printed masthead — with the title right beneath it, and your writing follows on the same paper.
Above the page, one writing prompt suited to the entry’s kind is always waiting — tap it to drop it into the page, or tap More prompts for alternatives (the sparkle button in the toolbar opens the same panel). The prompt changes each day, and it’s the same one on the web and your phone.
In the entry’s top bar you can also set:
- a kind — the built-in types (Free, Gratitude, Daily, Reflection, Weekly) and any of your own templates, picked from one menu, and
- a tag — once you’ve created journal tags (see below).
Need to disappear into the writing? Hit Focus mode — the prompt and everything around the page tuck away and just the paper stays. A small Exit focus mode button waits in the corner when you’re done.
Looking for a mood? Logging how the day felt lives in the Evening shutdown on Today — the mood you pick there is saved onto that day’s journal entry, and entries with a mood show a small face in the entry list.
Tags and attachments
Tag an entry. If you’ve created journal tags — manage them with the tag button above the entry list — a tag picker appears in the entry’s top bar. Pick one to label the entry, then use the tag filter in the list to pull up everything on that theme.
Attach files. Each entry has an Attachments area beneath what you write — add photos, PDFs, or any file you want to keep with that day. There are three ways to add them:
- Drag and drop one or more files straight onto the area,
- Paste a screenshot you’ve copied (the area floats a “Drop files to upload” hint while you drag), or
- click Add and pick files (you can select several at once).
Images show as thumbnails you can open; other files appear as a row you can download. Hover a file and click the trash icon to remove it.
Drag-and-drop, paste, and multi-file selection work anywhere you see an attachments area — tasks, notes, calendar events, trips, and health records, not just the journal.
Choose a notebook style to change how the page looks while you write — it’s purely for feel, and it’s remembered per entry:
- Default — the clean app page,
- Lined — a real ruled page: lines under your writing and a faint red margin,
- Literary — a classic serif with generous spacing,
- Handwritten — an easygoing cursive: personal, but still easy to read.
New entries start in Literary — the serif suits the page — and once you pick a style yourself, your last pick becomes the default for future entries (entries you’ve already written never change on their own). The style follows the entry between web and phone, and the app has its own Style row on the entry screen — pick a style there and the web shows it too.
On this day
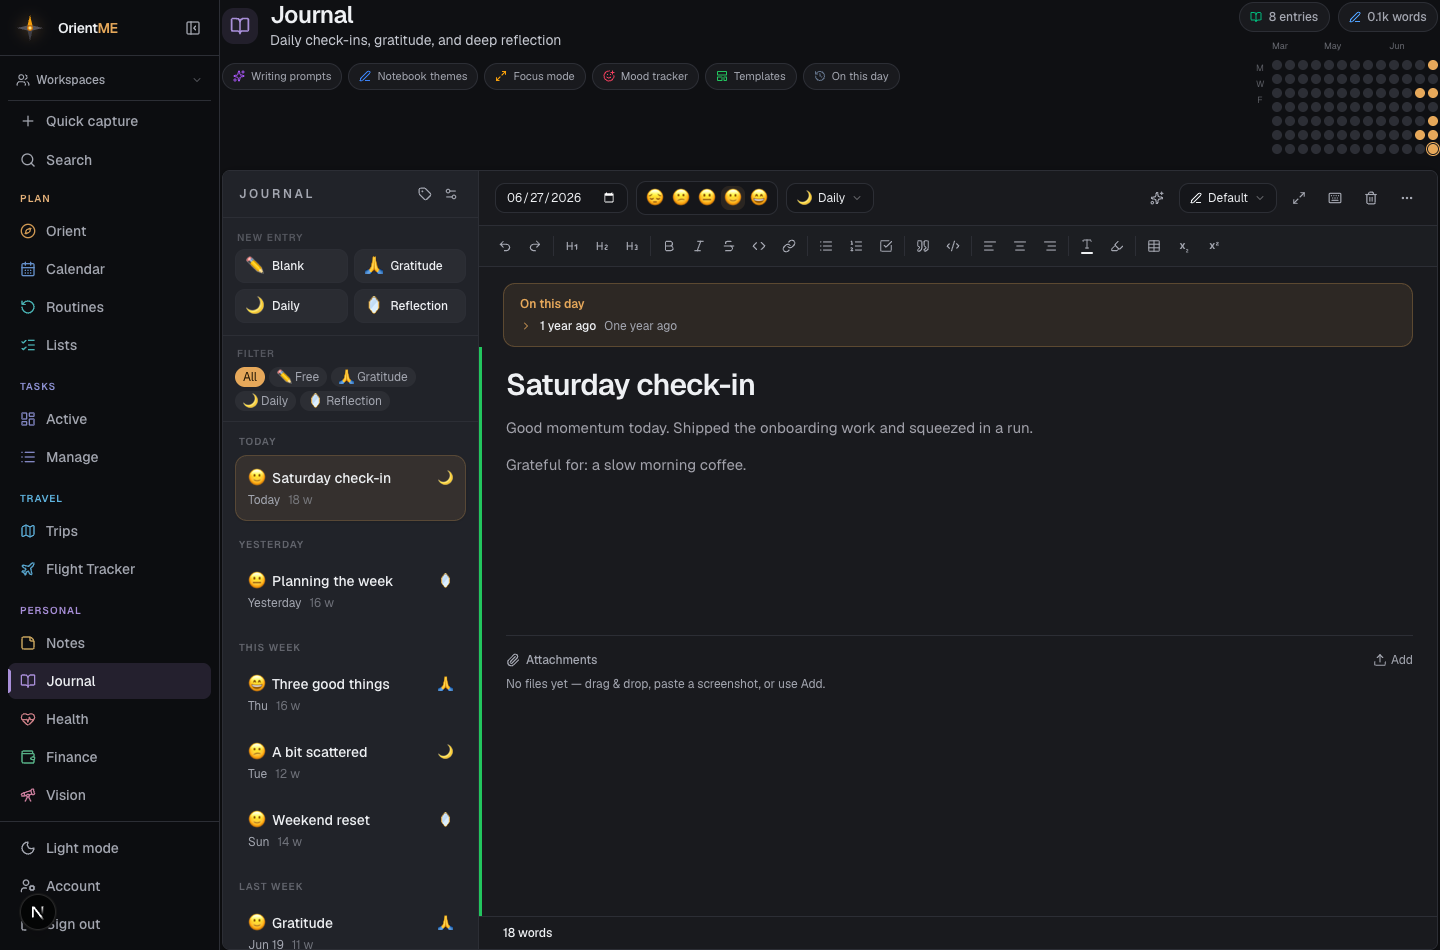
When the entry you’re reading shares its date — same month and day — with entries you wrote in other years, an on this day callout appears near the top, labelled “1 year ago”, “2 years ago”, and so on. Open today’s entry and it surfaces what you were thinking on this date a year or more back — a quiet way to notice how far you’ve come.
Find past entries
The list groups entries by time — Today, Yesterday, This week, Last week, then by month — and you can filter by kind or by tag. The kind filter includes the built-in types and your own templates (each appears as a pill once at least one entry uses it), so you can pull up, say, every “Deep Work” entry at once. Like notes, entries save automatically and show a word count and reading time.
Want a copy outside the app? Open the More menu (⋯) in an entry’s top bar and choose Print / Export PDF — a clean, print-ready copy of the entry opens in a new tab with your browser’s print dialog, where you can print it or save it as a PDF (allow pop-ups for the site if the tab doesn’t appear). On the app, tap the printer button in the entry’s top bar: it builds the same document as a PDF and opens the share sheet (save to Files, mail, AirDrop).
Capturing a journal: line in Quick capture for a day that already
has an entry appends to it rather than starting a new one — so a running daily log just
keeps growing.